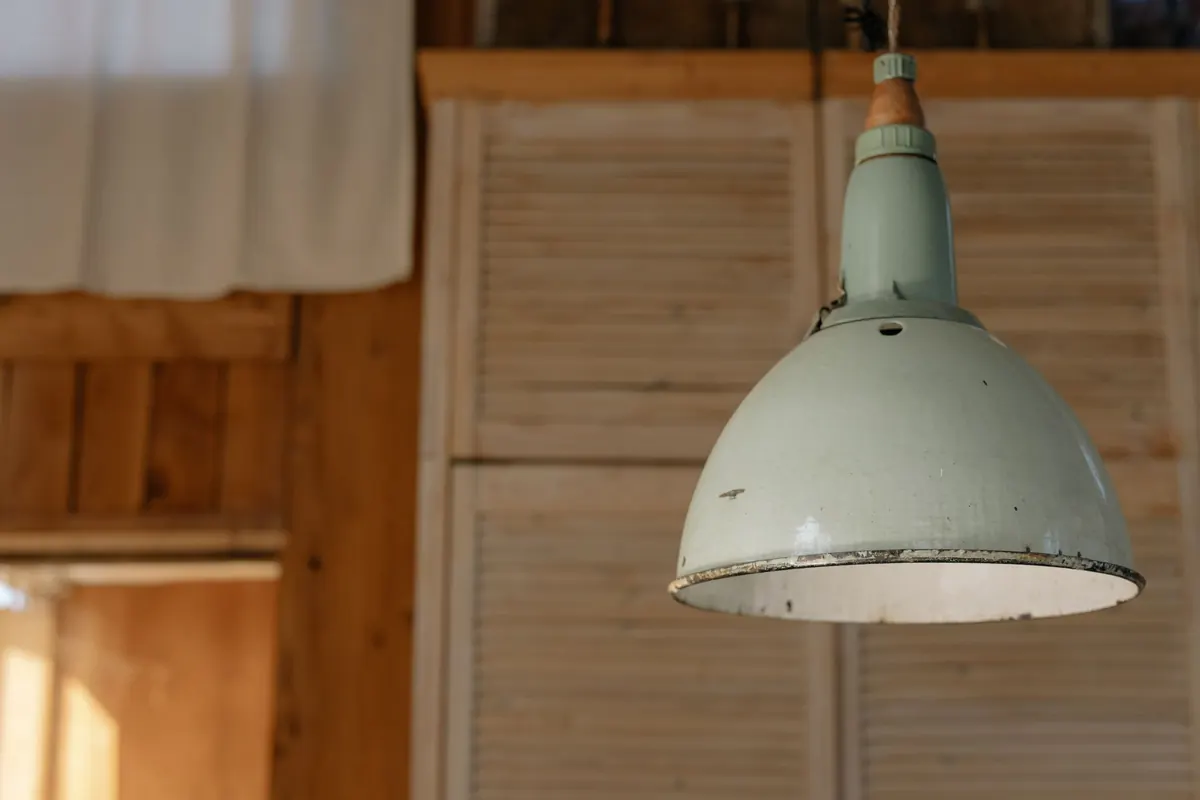
There's a morning in late autumn when you notice it: a thin sheet of water inside the glass of the porch lantern, or a finish that has gone chalky and grey on the post light by the driveway. Winter hasn't arrived yet, but it has done its reconnaissance. An afternoon of work now, done on a dry, mild day, will spare you rusted fittings, cracked glass, and a springtime replacement bill.
Lanterns that live outdoors take everything — rain driven sideways, freeze-thaw cycles, grit, and salt. The checklist below works for wall sconces, post lights, hanging pendants, and the small solar stakes along a garden path. Work from a stepladder you trust, and switch the circuit off at the breaker before you touch anything wired.
Start With a Slow Walk-Around
Before you clean or seal anything, look at each lantern the way a prospective buyer would. You're hunting for the small failures that winter will enlarge.
- Fogged glass or a water line inside the housing — the seal has already failed.
- Rust at the base of a post light, where water tends to pool.
- A chalky, flaking, or blistering finish, especially on the top cap.
- A gasket that crumbles when you touch it or won't spring back into shape.
- Screws that spin without tightening, or a fixture that shifts when you nudge it.
- Insect nests, dead leaves, or spider webbing packed into the top vents.
Jot the list down or take a photo of each lantern. It's easier than trying to remember which one had the bad gasket once you're standing in a store aisle.
Clean First, Seal Second
Sealant applied over dirt, cobwebs, and flaking paint is a wasted afternoon. Everything sticks better to a clean, dry surface.
- Cut the power at the breaker, then confirm the lantern is dead before removing anything.
- Take off the glass panels and the bulb. Set them somewhere they won't roll.
- Wash the metal with warm water and a few drops of mild dish soap. A soft brush gets into the corners of a frame better than a rag.
- Rinse and dry completely, inside and out. Compressed air or a hair dryer on low helps with seams and screw holes.
- Deal with rust now: a light pass with fine steel wool, then a matching touch-up paint on bare spots. Don't paint over active rust.
- Clean glass with a non-ammonia cleaner. Ammonia can cloud some plastics and finishes.
If a glass panel is stuck, or the wiring looks brittle and cracked, stop and call a licensed electrician. Fixtures that sit outside for years often need a new gasket or a new connection at the box, and that work is worth doing properly.
Sealing the Ways Water Actually Gets In
Water rarely comes through the metal itself. It comes through gaps: the joint where the frame meets the glass, the opening where the cable passes into the backplate, the threads under the finial, and any mounting hole that isn't tight.
- Frame-to-glass joints: a thin bead of 100% silicone caulk, pressed in with a damp finger. Keep it neat; smeared caulk traps dirt.
- Backplate: a bead of clear outdoor sealant where it meets the wall, but only if the fixture is designed to be sealed there.
- Bulb threads and socket contacts: a very thin coat of dielectric grease. It slows corrosion without gumming up the socket.
- Painted and powder-coated surfaces: a coat of paste wax or automotive wax adds a season of protection and makes spring cleaning easier.
Do Not Seal These
Most outdoor lanterns have a small weep hole or drainage slot at the lowest point, and vents near the top. Those openings are what let condensation escape. Plug them and trapped moisture will do more damage than rain ever would. The same goes for glass panels that sit slightly loose in their frames — that small amount of play gives the glass room to move as temperatures change. Caulking glass rigidly into a frame is a common cause of cracked panes in January.
Gaskets, Hardware, and Small Repairs
The gasket is the cheapest part of a lantern and the one that decides whether it survives to spring. Silicone and EPDM gaskets hold up better than plain rubber. If you can't find an exact replacement, a sheet of silicone gasket material and sharp scissors will get you a serviceable one.
While the fixture is open, replace any steel screws with stainless versions and put a dab of anti-seize on threaded parts so they'll come apart next year. Tighten finials, top caps, and mounting nuts; wind works them loose over a season. Push gently on a post light — if the post moves, water is finding its way into the wiring compartment below.
Bulbs, Timers, and Solar Lanterns
Shorter days mean every fixture runs longer, and cold weather stresses bulbs, batteries, and controls. Check that bulbs are rated for damp or wet locations as required by the fixture, and that sockets are free of corrosion. Clean the eye of any photocell so it switches on at the right time, and adjust timers for the new daylight hours.
Solar lanterns need their own attention. Wipe the panels, since a film of grime cuts charging noticeably. Cold reduces how well rechargeable batteries hold and deliver power, so if a solar lantern is decorative rather than necessary, charge it fully and store it indoors for the winter. Never leave a battery stored completely drained.
What to Bring Indoors
Not everything should stay outside. Decorative lanterns with fabric, paper, or unfinished wood, tabletop lanterns whose battery compartments aren't gasketed, and anything with a cracked pane belong in a dry garage or closet. Remove batteries, give the fixture a clean, and store it with a silica packet to absorb lingering moisture. Keep the finials, glass, and mounting hardware in a labelled bag — those are the parts that vanish from catalogs first.
A Ten-Minute Check After the First Storm
Once the first hard rain or ice storm has passed, walk the perimeter again. Look for water inside the glass, a lantern hanging crooked, or a base that has shifted in saturated ground. Fix the small things while they're still small. Keep a tin with silicone, dielectric grease, spare gaskets, stainless screws, steel wool, and touch-up paint so the correction takes minutes rather than a trip to the store.
Nothing outdoors is truly waterproof, and chasing that isn't the point. The goal is to make water follow the path you want: down the outside of the glass, out the weep hole, and away from the wiring. Do that before the hard freezes settle in, and your lanterns will still be lighting the walk when the days start getting longer again.
Photo: Gundula Vogel / Pexels